Shower Renovations Troubleshooting Guide — Liberty Home Services
At Liberty Home Services, we understand that shower renovations in Canonsburg, PA, can transform your bathroom into a sanctuary of relaxation and style. However, even the best renovations can sometimes come with issues that need troubleshooting. This guide is designed to help homeowners identify common problems associated with shower renovations, enabling you to address them effectively or determine when to call in a professional. With our expertise in bathroom remodeling, we aim to empower you with the knowledge needed to maintain your newly renovated shower and ensure it remains a source of joy rather than frustration. Shower renovations can involve a variety of elements, from tile work and fixtures to waterproofing and drainage systems. When issues arise, they can disrupt your daily routine and lead to further complications if not handled promptly. Whether you are experiencing leaks, water pressure issues, or aesthetic concerns, understanding the root cause is crucial. In this troubleshooting guide, we will outline common symptoms associated with shower renovations, possible causes, and actionable steps you can take to resolve these issues. Our goal is to assist you in keeping your Canonsburg bathroom in top shape while ensuring you enjoy the full benefits of your investment.
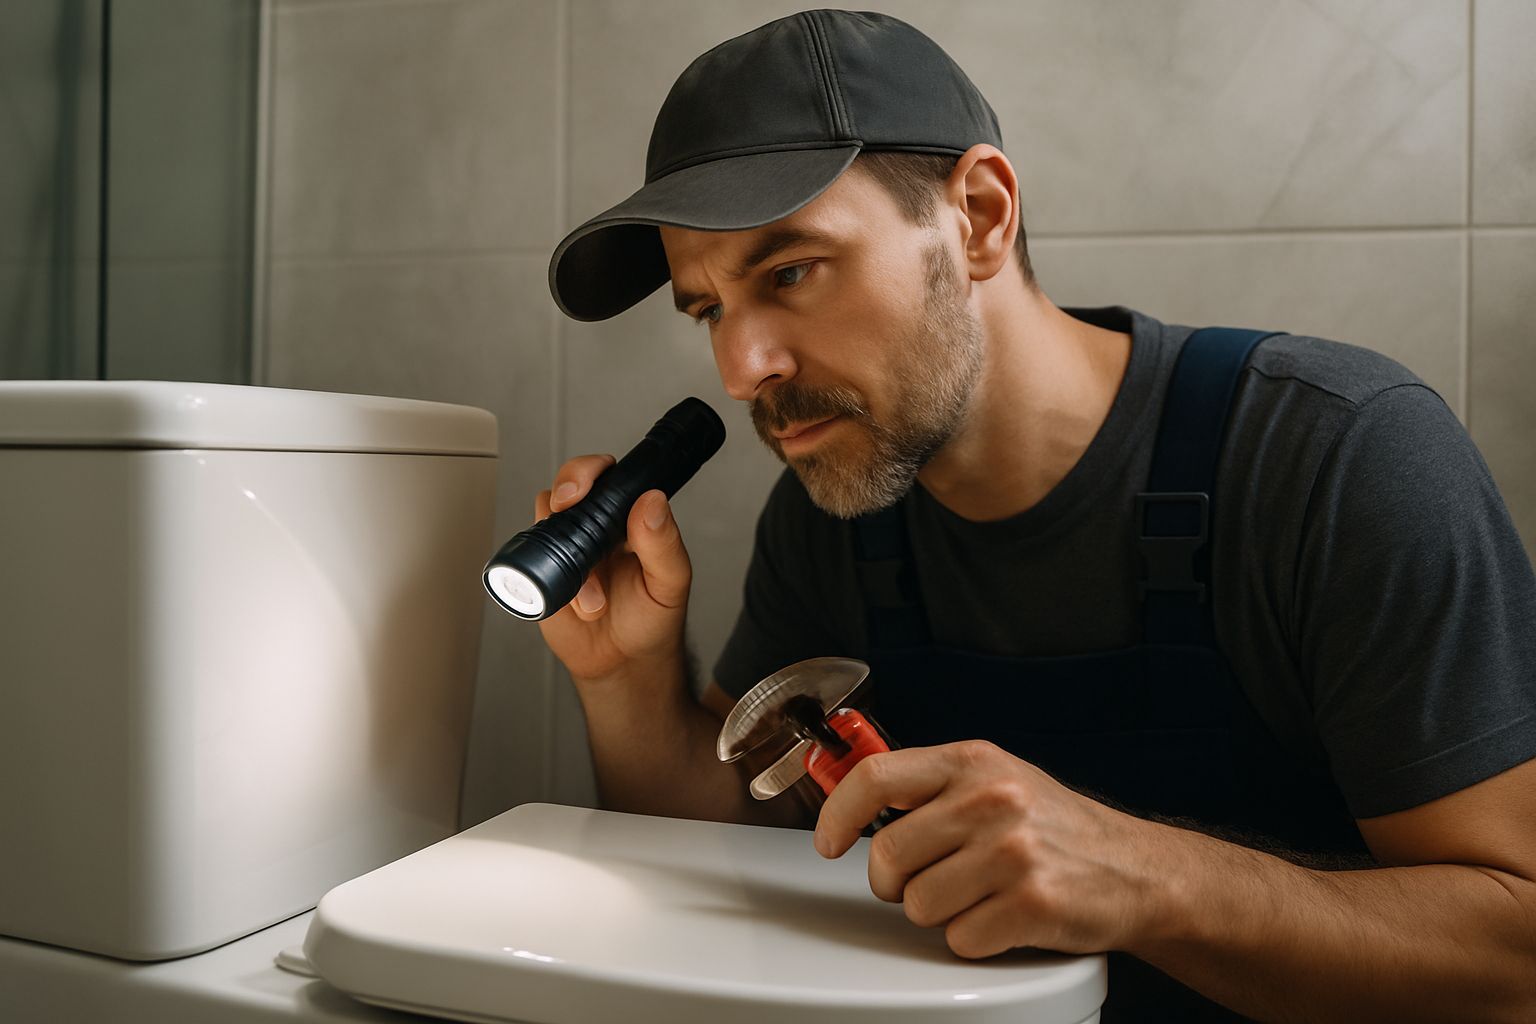
Identify the Problem
Match your symptoms to the most likely cause. Severity ratings help you decide how urgently to act.
Step-by-Step Action Plan
Follow these steps before calling a technician — you may be able to resolve the issue yourself.
Identify the Problem
Take note of any symptoms you are experiencing with your shower. Document issues such as leaks, pressure, or aesthetics to help pinpoint the problem.
Check for Visible Damage
Inspect your shower for cracked tiles, damaged grout, or other visible signs of wear. This can help determine if the issue is cosmetic or structural.
Assess Water Flow
Turn on the shower and check the water pressure. Note any inconsistencies that may indicate plumbing issues, such as leaks or blockages.
Inspect the Drainage System
Ensure the drain is clear of debris and that water is flowing properly. Clogs can lead to standing water and further complications.
Evaluate Seals and Fixtures
Examine the shower door seals and faucet fixtures for proper installation and wear. Damaged seals can lead to leaks and water damage.
Consult a Professional if Necessary
If the issue persists after your assessment, contact Liberty Home Services. Our experienced team can diagnose and resolve complex problems effectively.
Don't DIY These Situations
Some repairs require a licensed technician for safety, code compliance, and warranty protection.
If you notice structural damage in the walls surrounding your shower, it may indicate serious water damage that requires a professional's expertise.
Persistent leaks that do not resolve with simple fixes could point to plumbing issues that need a licensed plumber's intervention.
If you're experiencing low water pressure that persists after cleaning the showerhead and checking for clogs, a professional can investigate potential issues in your plumbing system.
Mold or mildew that returns despite cleaning efforts may require professional remediation to ensure it is fully removed and does not return.
In cases of significant tile damage or improper installation, enlisting a professional ensures that repairs are done correctly to avoid future issues.
What should I do if my shower is leaking?
How can I improve low water pressure in my shower?
Is it normal for my shower tiles to crack after renovation?
How do I prevent mold growth in my newly renovated shower?
We Can Fix It For You
Our licensed team serves Canonsburg, PA and surrounding areas — same-day service available.
Problem Solved — Or Need a Pro?
Our licensed team serves Canonsburg, PA and surrounding areas. Get a free diagnosis — no obligation.